candles: 6 tips for classics and novelties
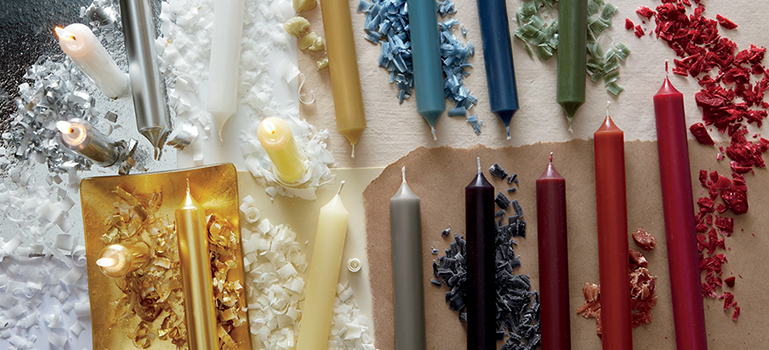
Who doesn’t love decorating with candles, especially around the holidays? Besides creating warm, soft light, they serve as pretty pieces of home décor.
Here are 6 tips and tricks to get the most out of your candles:
1. Control the burn.
Trim your wicks to about 1/8-1/4 inch. This will help prevent smoking, uneven burning, and extra-high (dangerous!) flames.
The first time you light a candle, let it burn for approximately one hour for every inch the candle is wide. This trick will also help keep your candles from burning unevenly.
*Note: not every candle burns the same. tag pillar candles are unique because they’re designed to “tunnel” slightly. “Tunneling” happens when the wax around the center of the candle melts down first, leaving the edges a little higher than the flame. Norman Glassberg, the late tag founder and passionate candle enthusiast, wanted his candles developed this way to help them maintain height and create a pretty glow around the sides of the candle. This is contrary to the industry mainstream, but Norman loved it, and there are many tag candle devotees out there who agree!
2. Take a novel approach.
Novelty candles are really popular because they are decorative and/or adorable, but people don’t always know the best way to burn them. This is unfortunate because by not burning novelty candles, you miss out on a lovely candlelight glow and - sometimes – a delicious scent. We recommend trimming the wick as usual, but burning for a shorter period of time than you would regular candles. This will intentionally create a deeper “tunnel” as described above, but it’s a good thing because you’ll keep the decorative shell of your candle intact longer.
3. Take charge.
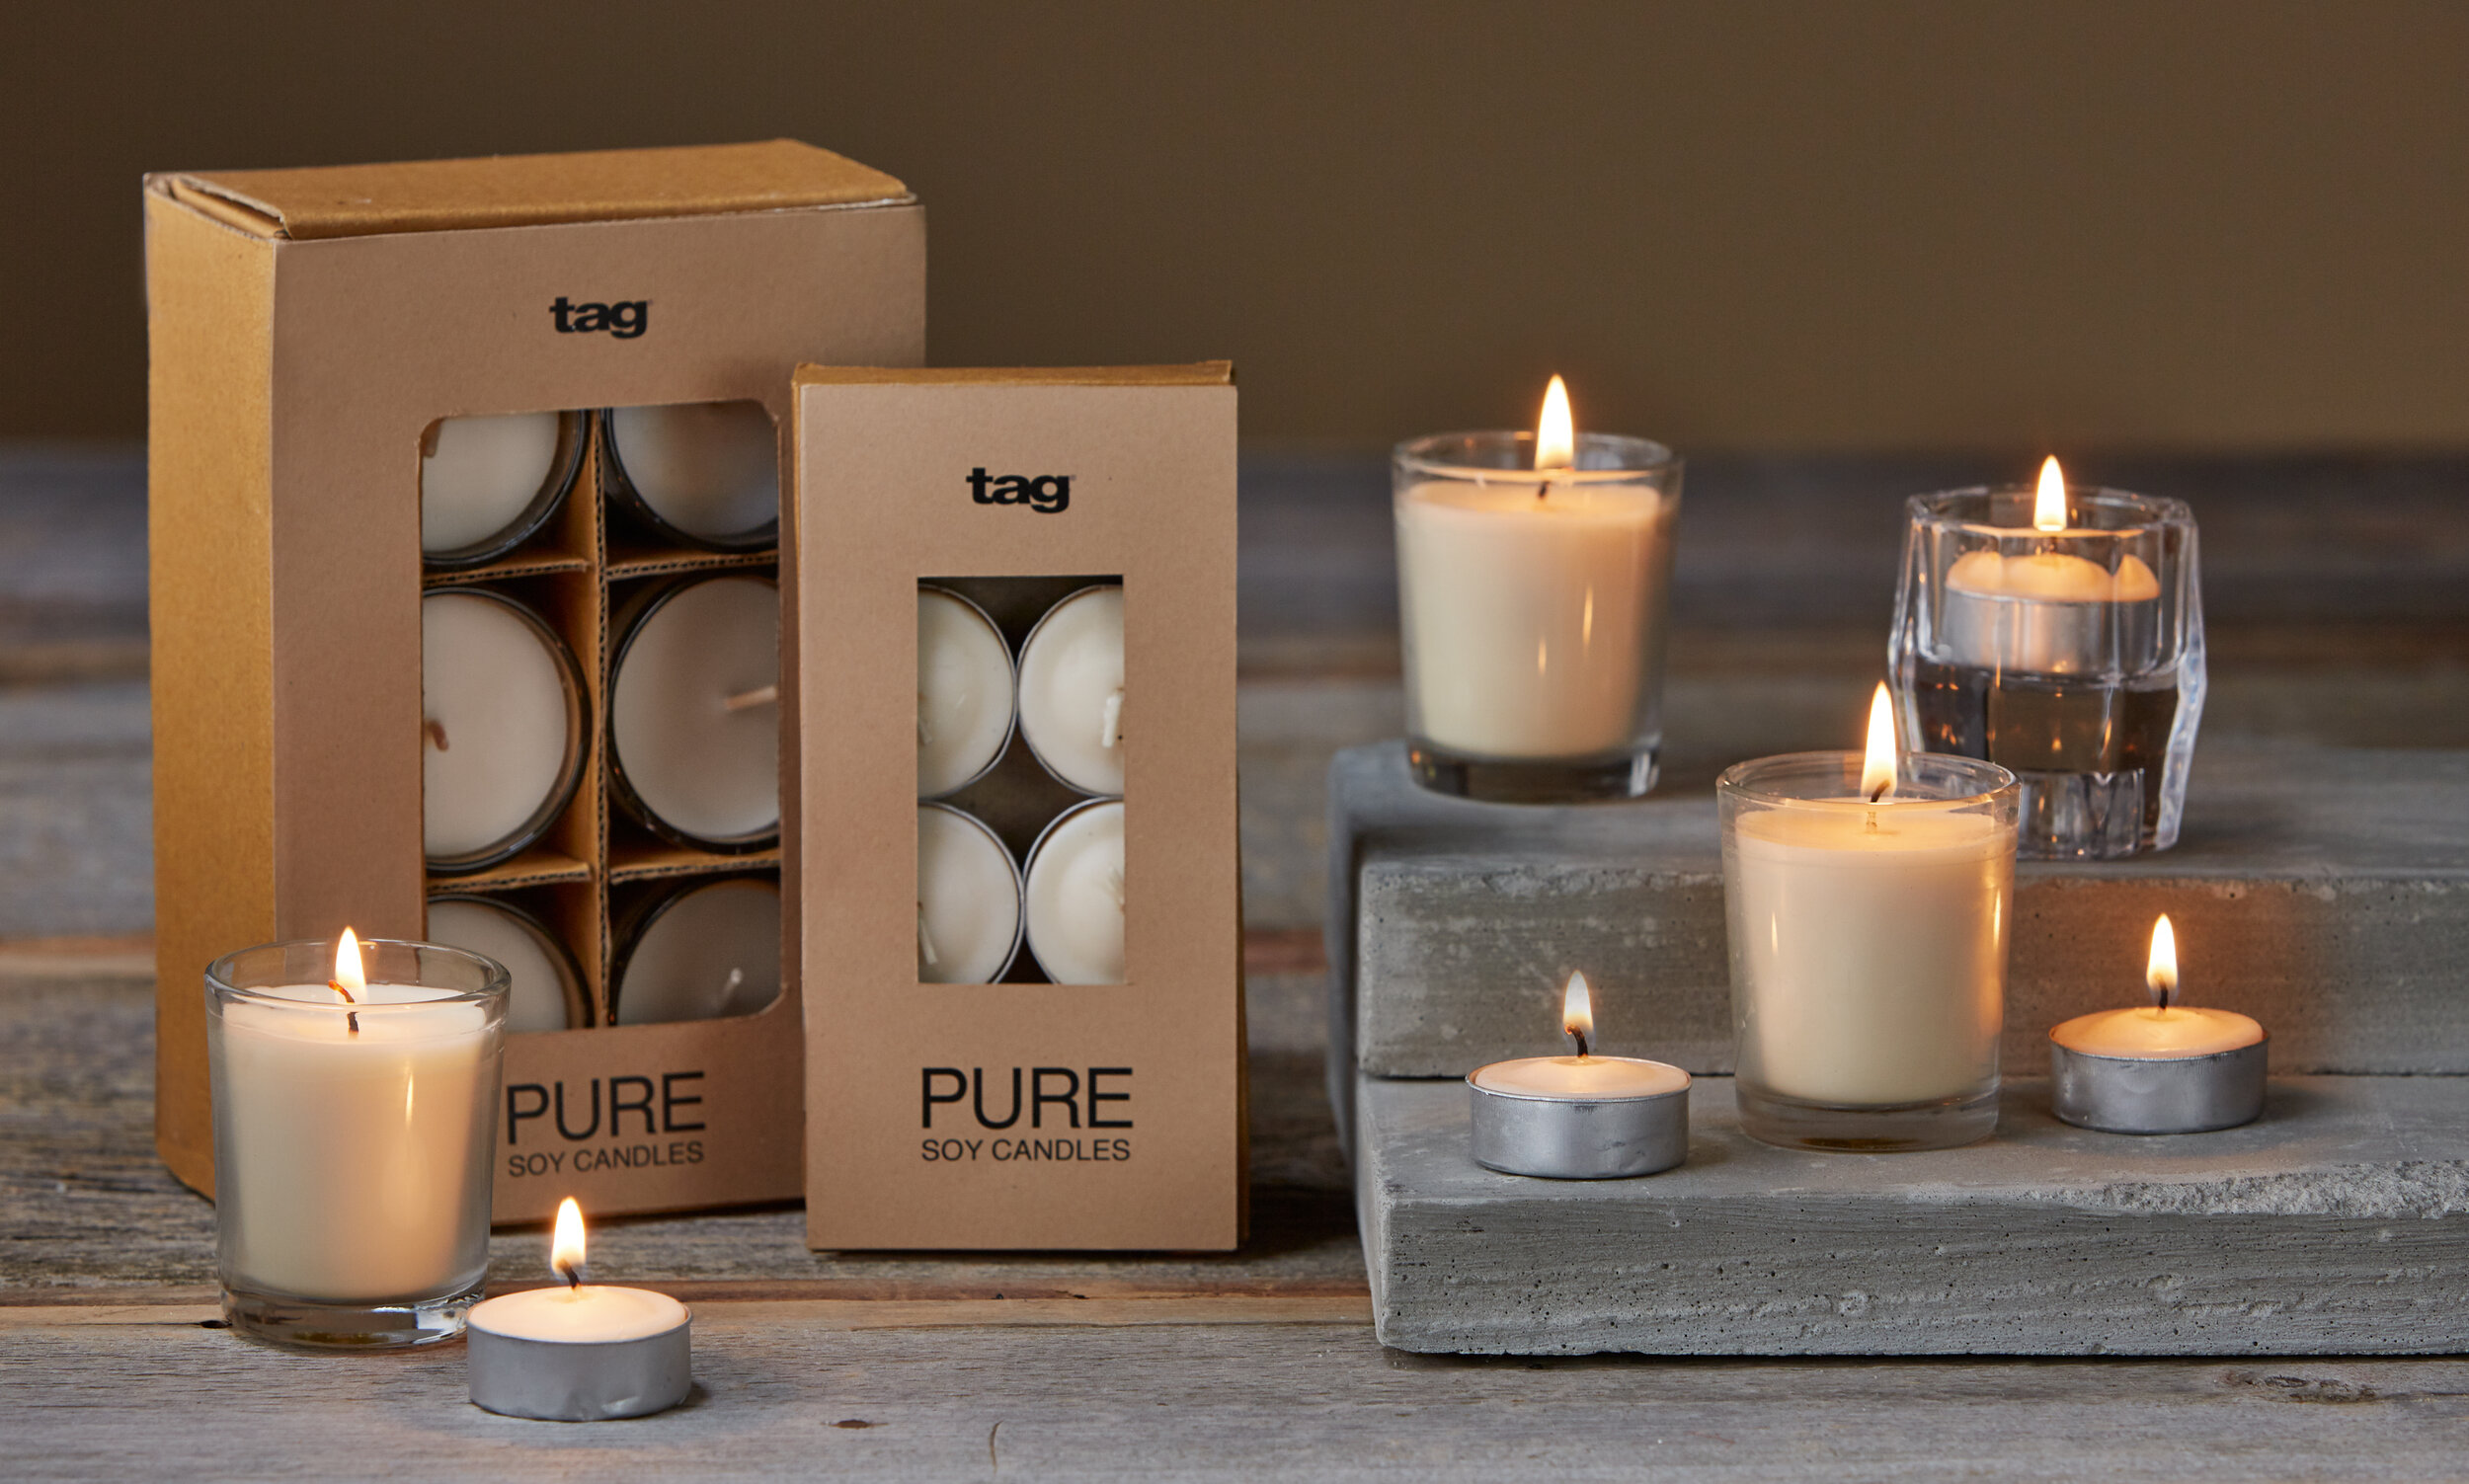
Buy tealights that burn for as long as you need them to burn; if you’re throwing a party, planning a special event, or just want your tealights to last for a long time, buy ones that are made to burn for longer than the standard 3 hours (bear in mind that cheap tealights won’t even last that long). Light 8-hour tealights and you won’t have to worry about them burning out all night.
4. Tealights vs. votives: be in the know.
Have you ever considered the difference between tealights and votives? Not me, I've always just purchased one or the other without a second thought. Now I know better! Digging into the topic uncovered enough material for another blog post entirely - learn about tealights and votives here.
5. Adjust as needed.
Here are two common problems and their simple solutions:
A) Your straight candle won’t fit into your candle holder because the base of the candle isn’t tapered. This is annoying, and probably happens at the last minute, just before dinner when you’ve set the table and brought out your favorite candlesticks. tag solves this problem with a clever taper candle shaver. It works like a pencil sharpener to narrow candle bases for a better fit in your candlesticks. Problem solved.
B) Your candles won’t stay upright. Again, tag solves the problem with fix-it buttons, which are little adhesive circles that keep candles standing straight.
fix-it buttons are also handy for many other uses; check out team member Dan’s list here.
6) And… obviously!
No article on candles would be complete without saying: do not leave burning flames unattended, near children, on unprotected or uneven surfaces, in drafty areas, or near anything flammable that should not be burned. Be safe!
Like charger plates and wine aerators, honestly candles didn’t get a lot of my attention until I came to tag, a company well-known for its high-quality chapel candles and fun novelty candles alike. Now I’m glad to be in the know. I hope this has been helpful to you too. Enjoy your candles!


